My first look at FlaxEngine
My first look at FlaxEngine
This week I spent a few days playing around with a game engine I have never used before: FlaxEngine. Today I would like to share my impressions so far.
What is FlaxEngine?
FlaxEngine is a relatively young game engine with available source code. It has a lot of interesting features, and allows you to write game code in a number of ways:
- C# scripting.
- C++ “scripting” with hot reloading.
- Visual scripting.
The engine is not completely free, but takes a 4% royalty if your game earns more than $25,000 per quarter.
My first impression
I tried creating soome basic sample projects, that you can find here.
I was surprised by how stable and user friendly the engine is, after just a few years of development. I did not run in to any issues, and did not encounter any unexpected limitations, despite my sample projects doing some less standard things such as rendering movable GUI in the editor.
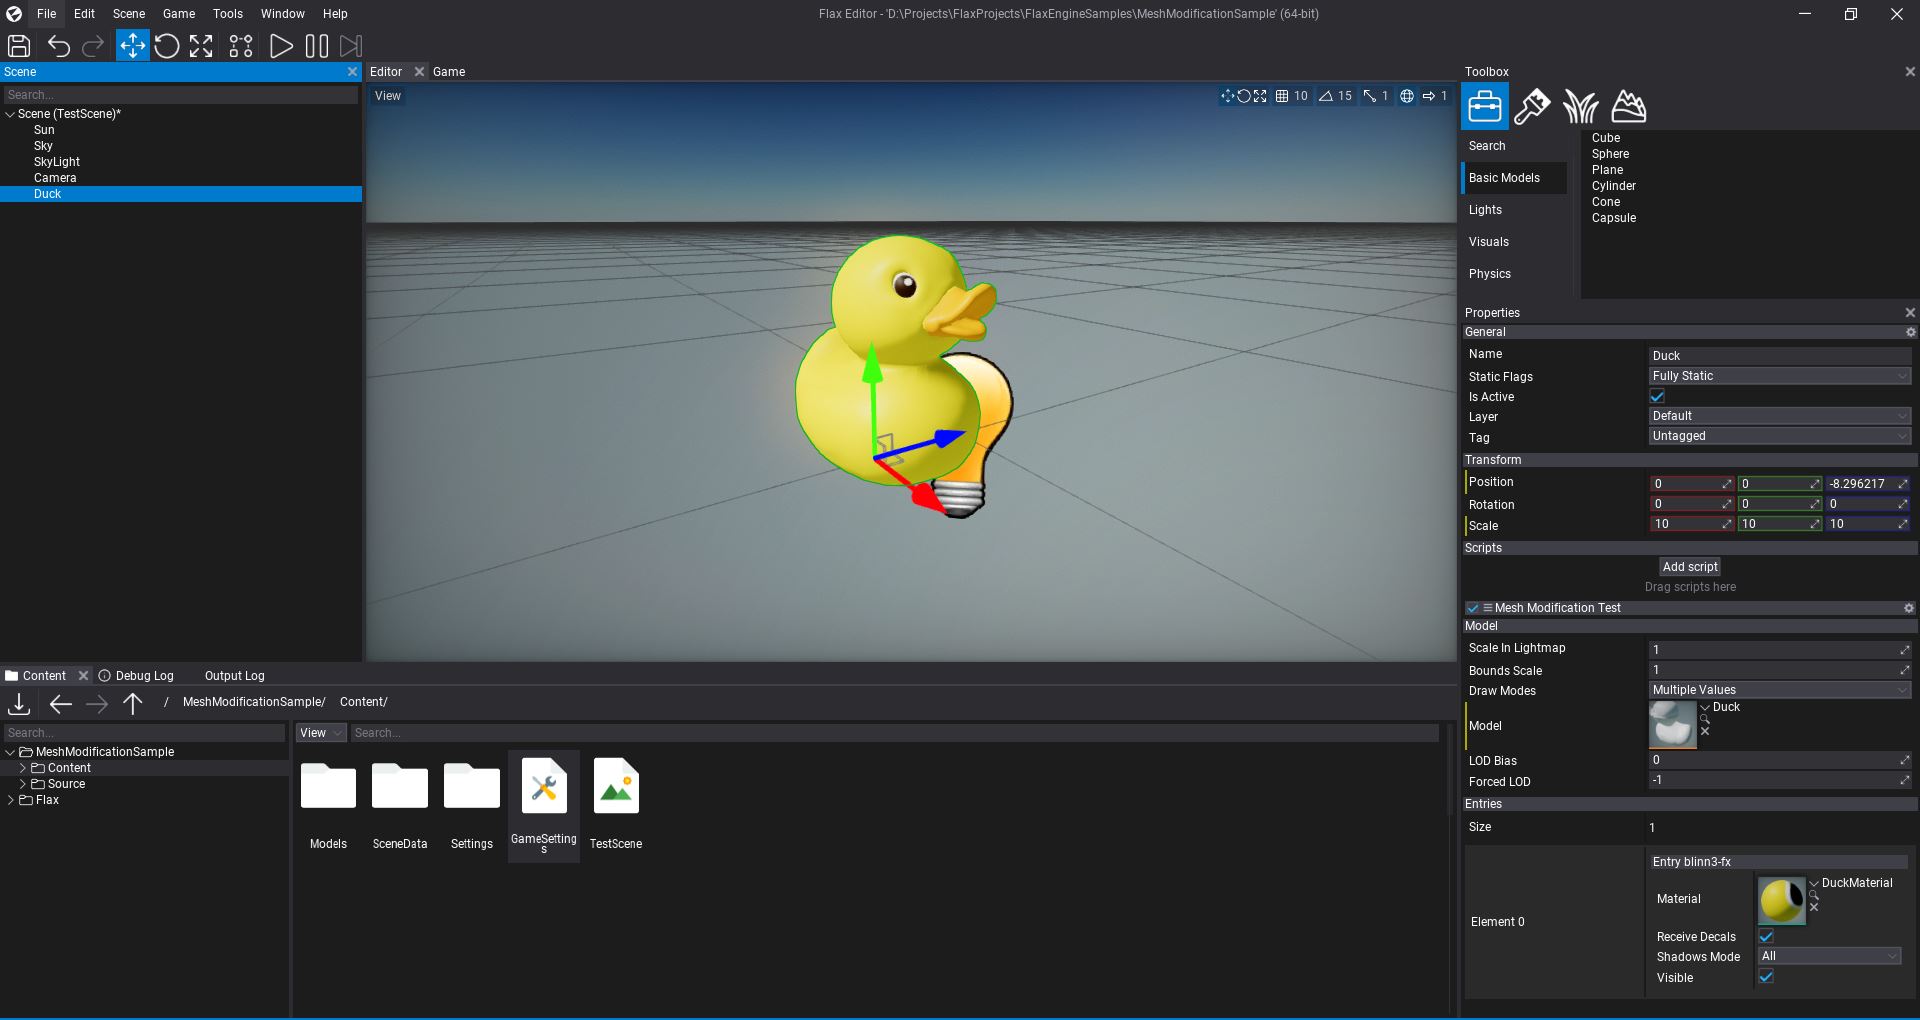
The editor

If you have worked with Unity or Unreal, the editor should look familiar to you.
On the left side you have the scene view. On the bottom you have the content view, where you can browse all the assets in the project.
To the right you have the property grid, where you can inspect and modify the selected Actor.
(by the way, the duck was taken from thye Khronos glTF sample model repository)
Scripting
The scripting API is quite intuitive and is in some cases very similar to Unity’s. Having experience working with Unity I was easily able to do things like raycasting the scene and adding an impulse to the hit object, without having to read any documentation first.
As mentioned above, you can choose between writing code in C#, C++ and visual scripts. For my sample projects I used C#, but I also did some tests with C++.
Documentation
FlaxEngine also has a lot of documentation available. Here are some recommended resources:
- The official manual: https://docs.flaxengine.com/manual/index.html
- FlaxSamples Repository: https://github.com/FlaxEngine/FlaxSamples
- A collection of C++ code snippets on their forum: https://forum.flaxengine.com/t/some-examples-of-c-scripts-share-yours-too/280
My sample projects
I decided to make 3 sample projects. You can find them here: https://codeberg.org/matiaslavik/FlaxEngineSamples
Mesh modification sample
Source code: https://codeberg.org/matiaslavik/FlaxEngineSamples/src/branch/main/MeshModificationSample
In this sample project I modify the mesh data of an imported mesh at runtime. This introduced me to the concept of “virtual assets”. To be able to modify an asset at runtime, you first need to convert it to a virtual asset using the CreateVirtualAsset function.
Once you have a virtual mesh asset you can call the UpdateMesh function to update the vertex data.
The original mesh data can be fetched by calling DownloadVertexBuffer and DownloadIndexBuffer.
The code for updating the mesh looks like this:
for (int iVert = 0; iVert < verts.Length; iVert++)
{
    // Shoot all vertices in "random" direction
    Vector3 vertOffsetDir = new Vector3((float)rand.NextDouble(), (float)rand.NextDouble(), (float)rand.NextDouble()) * verts[iVert].Position.Normalized;
    vertPositions[iVert] = verts[iVert].Position + iVert * vertOffsetDir * 0.001f * Time.DeltaTime;
    verts[iVert].Position = vertPositions[iVert];
}
mesh.UpdateMesh(vertPositions, indices);
Raycast sample
Source code: https://codeberg.org/matiaslavik/FlaxEngineSamples/src/branch/main/RaycastSample
In this sample project I simply do a raycast from the mouse to the scene whenever the user clicks with the mouse. If an object is it, we add an impulse to it.
The code is fairly simple:
if (Input.GetMouseButtonDown(MouseButton.Left))
{
    Ray ray = Camera.MainCamera.ConvertMouseToRay(Input.MousePosition);
    RayCastHit hit;
    if (Physics.RayCast(ray.Position, ray.Direction, out hit))
    {
        if (hit.Collider.AttachedRigidBody != null)
            hit.Collider.AttachedRigidBody.AddForceAtPosition(ray.Direction * 10000, ray.Position, ForceMode.Impulse);
    }
}
Movable GUI in editor scripts (basic visual scripting editor)
Source code: https://codeberg.org/matiaslavik/FlaxEngineSamples/src/branch/main/VisualScriptingEditorSample
So the official manual already explains how to create a custom editor window.
You draw your own GUI elements using the LayoutElementsContainer, which is a layout manager that makes this much simpler for you.
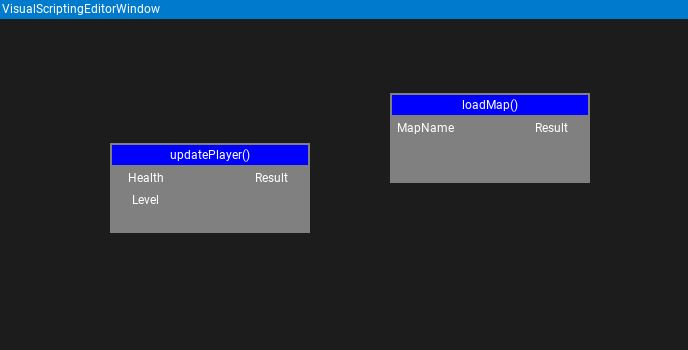
But can you make a visual scripting editor in FlaxEngine? For that, you need to be able to create movable GUI controls.
The LayoutElementsContainer is not so ideal for this, since we want to control the absolute position of each GUI control ourselves.
So instead of using the LayoutElementsContainer I instead fetched the layout’s ContainerControl and started adding GUI controls to it directly.
I was then able to check which GUI controls the cursor overlaps, and move the GUI controls around.
So how do we create a button in the editor for opening our new visual scripting editor window?
Simple: We create a new class that inherits from EditorPlugin and use Editor.UI.ToolStrip.AddButton to add a new button to the toolstrip, in the InitializeEditor function.
public class VisualScriptingEditorPlugin : EditorPlugin
{
    private ToolStripButton _button;
    public override void InitializeEditor()
    {
        base.InitializeEditor();
        _button = Editor.UI.ToolStrip.AddButton("Open visual scripting editor");
        _button.Clicked += () => new VisualScriptingEditorWindow().Show();
    }
    public override void Deinitialize()
    {
        if (_button != null)
        {
            _button.Dispose();
            _button = null;
        }
        base.Deinitialize();
    }
}
Sharing is caring!